
Luto Game Walkthrough: How To Win Every Chapter? Step-By-Step Guide


Luto, the horror-themed adventure and puzzle-solving game, released on July 21st, 2025, to various platforms, is receiving highly positive reviews from gaming communities around the globe.
This article will be an elaborate guide to Luto, covering its full walkthrough and providing guides to solve the puzzles. Let’s begin.
Luto The Game Overview
| Developer | Broken Bird Games |
| Engine | Unreal Engine 5 |
| Genres | Horror, Adventure, Puzzle |
| Mode | Singleplayer |
| Monetization | One-time Game Purchase |
| Release Date | July 21, 2025 |
With the tagline ”this is a story about death,” Luto by Broken Bird Games provides a psychological horror experience in which the player acts as someone unable to leave their home. If any attempt is made to escape the house, it will make the player travel into the horror of the unknown.
According to the initial reviews, the game delves deeper into the protagonist’s psychological states, moving through depression, anxiety, and despair, providing a surreal and cathartic gaming experience to the players. It is available on Steam, Epic Games Store, PlayStation 5, and Xbox Series X|S.
Luto Chapter-Wise Walkthrough: Step-by-Step Guide to Win
Luto is divided into six chapters, and the completion of the fifth chapter takes you to the 22nd chapter due to the distinct non-linear narrative of the game. The chapter-wise guides provided below will clear up all the confusion and outline the best steps to beat the game.
Chapter 1: It’s Happening Again
The chapter begins with Sam, the protagonist, who is suffering the loss of a loved one, and acts as an introductory session to the game. Sam starts in his bathroom, goes around his house, and finds the key to unlock the main door.
It’s Happening Again Walkthrough
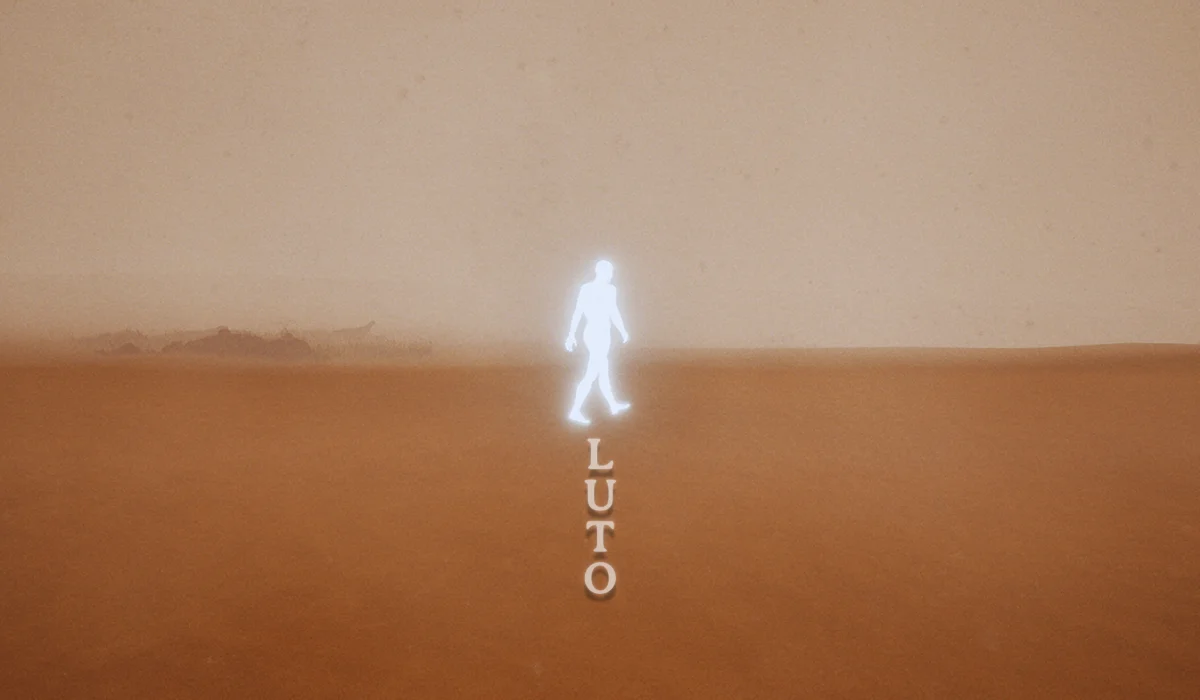
- Sam wakes up in a desert, and the screen starts shrinking and eventually turns black. Sam finds himself in front of a mirror in the bathroom of the house, noticing the sticky notes in the mirror.
- The narrator guides you to walk through the corridor, where you will find a note. At the end of the corridor, take the stairs on the left and reach the lower floor.
- After reaching the stair end, turn right and interact with the small chest on the table. You will realise that it is Grandmother Dolores’ chest, but the key is missing.
- Open the door on your right and move towards the basement to find a note in which “That Symbol Again” is written, and a word card in which “Casa = House” is written.
- Come back to the ground floor and grab the “In Loving Memory” note from a trash bin near the phone table. Near the phone, you can find the Home Key. Walk through the main door to the outside. It will fade the screen to black.
- You move on to Tuesday and start the day in front of the broken mirror again. When you move towards the ground floor and reach the stairs, it will again cut to the next day.
- You start again in front of the mirror, but this time it is night. When you hear a sound, you should approach the phone table and pick up the sketchbook. The narrator will reveal that many pages are missing.
- If you try to open the main door, you will find that it is locked. Get back to the bathroom to find the Home Keys in the sink. Go down and exit through the door to fade into the next day.
- You will start on Thursday with the same routine of standing in front of the broken mirror. Access the sofa downstairs and answer the phone call. After the call ends, reach the table in the basement.
- Interact with the cardboard sheet on the floor to reveal a trapdoor. Open it for the question if you want to go down to pop up. Choose “Yes.” This will end the first chapter successfully.
Chapter 2: Beyond the Noise
This chapter features Sam’s travel through the trapdoor. Starting with complete darkness, it compels the player to interpret various symbols and unlock a door to the next chapter.
Beyond the Noise Walkthrough
- In darkness, travel forward with the directional button to find a door. It will reveal another door. Going through it will take you to a different house. You will have to start exploring the house.
- You will get a Sketchbook Sheet from the coffee table, just under the clock. Collect it and go left, and access the first door to find three ghost-like figures. Find cardboard boxes and collect the word card.
- Access the hallway to find a half-open door. Return to the coffee table and find the path that leads to a passageway. While in the passage, turn left and you will see a mirror with a TV screen that shows the number “1” in a red background.
- Continue through the passage to reach a new room in which you can find a hole. It is situated halfway between the stairs, where you will find a new word card. Also, note the hammer, which you will need to open the door to the earlier barred room.
- Approach the nearby ladder to find a note. It is a clue to get the hammer in hand. Access the door at the bottom of the stairs, which leads to the left and right. Head to the left.
- Move through the locked glass door with blue light to reach the locked white door. Interact with its peephole to find a monkey inside it and the number “1.” Move back and roam around to find a bathroom similar to the one in your house.
- Turn right to interact with the clock inside the bathtub. When it stops exactly at 5 o’clock, head back to the split off to see that one of the seven clocks has marked off.
- Find the remaining clocks and head back down the stairs. Interact with the door and follow the instructions to unlock it. Access the next room and collect the note “a lie multiplies 7 times” and the money. The remaining instructions are provided below.
How to Get the Hammer in Luto?
The hammer is plainly visible in the home, hanging from a light fixture. You can interact with the phone at the desk in the ground-floor corridor to get it. You should press the “SOS” button three times, in which the third press will make you hear a sound of something falling. Go back to the light fitting and pick the hammer up.
How to Find the Clocks in Luto?
The first clock is in the bathtub. You will find the second clock in the ceiling. The third one is in a chair, and the fourth one is below the round table. The fifth one is near the boxes in the basement, and the sixth clock is in the space with the blue light. The final clock will be in the locked room at the top of the stairs, inside the living area. Use a hammer to remove the barricades on the door and interact with the nails to remove them. Finally, collect the seventh clock.
How to Solve the Puzzle in Luto Chapter 2?
The final puzzle of the second chapter, which is a little tricky, can be solved if you follow the exact instructions given below.
- Open the sketchbook and find the six-cell page. It will have sketches lettered A to F. Remember the noticeboard pinned with “FADB” and look at the sketches in that order.
- Cell F is similar to the mirror in the house with the letter “1.”
- Cell A, which shows a monkey, can be linked to the monkey that we saw through the peephole and the number “1.” However, we should connect this to the note “a lie multiplies 7 times.” 1×7 = 7.
- Cell D shows ghosts with the numbers 1,3,2, and 4. In the room upstairs, we saw similar ghosts with the numbers 1,3, and 4. So the missing number is “2.”
- Cell B, which is a wet clock, can be linked to the bathtub clock with the number 5 in it. Finally, we have the number “1725.”
- If we link the 555 in the Post-it note on the desk, we will get a phone number. Access the phone downstairs and ring 555-1725.
- You will start hearing something inside the house. The blue glowing door is open now, and go through it till you reach the corridor.
- Follow the toy ambulance through various paths to finally reach a familiar-looking bathroom. Pick the note and follow the instructions to reach a cave, then a desert. When the sandstorm starts, the chapter will be concluded.
Chapter 3: One More Time – Full Walkthrough
In this chapter, Sam interacts with the hidden monkey dolls, which can teleport. They confuse Sam, making him panic. Similar to the first chapter, “One More Time” crossfades between various days.
One More Time
- The chapter starts with Sam waking up in the bathroom. Get out of it and access the table in the corridor to find a script. Pick the script, go down the stairs, and interact with the door by picking the keys from the console.
- When Tuesday starts, access the corridor to realise that the script is missing. Pick the keys from the console table downstairs and open the door to fade into Wednesday.
- Repeat the same process until Friday, when you will find the first door opening instead of the regular door. You should open the sketchbook, observe the drawings of monkeys, and watch the TV that plays the movie Night of the Living Dead.
- Watch the movie until you receive an achievement via a pop-up. Access the bed to interact with it. Follow the instructions and place the monkeys on the bed.
- Monkeys will teleport back and forth between the shelf and the bed. You should look at them first, and look away to see them in a different position. Interact with them to receive an eyeball, which is important for further progress.
- Now, visit the corridor again and pick the screenplay. Go through the stairs to reach the bathroom. Get out, and after it becomes dark, pick the stamp of a virgin which is on the table below the stairs.
- Pick the flashlight, go back to the corridor, and interact with the pictures on the wall. Look closely and pick up the note that falls from the wall. Now, interact with the crack in the wall and grab the key.
- With the key, open the locked box downstairs to find a miniature door. Grab it and move through the front door to the darkness and reach a ruined house. Pick the flash card in the cart and go down the stairs.
- You will reach a cave with a door inside. Open the door to reach your own house. The phone will ring and tell you, “In order to escape, you have to go back,” once you pick it.
- After a fade, you will again start inside the bathroom. Get out and walk to the corridor. Go down the stairs to the living area. Open the next doors one by one until you see a white figure, which will turn dark once you see it.
- A cutscene will appear. Press continue to see yourself in the desert with the white figure. Walk to the figure, which will start a sandstorm that will take you with it.
Chapter 4: Thanks for Pushing Me
Chapter 4, the longest part of the game, brings much clarity to the narrative, in which you will get a clue to the overall idea of the gameplay experience. You have to solve various tricky puzzles.
Thanks for Pushing Me
- Before we enter Chapter 4, we just pass through “Chapter 1 It’s Happening Again” again. You are in the bathroom, you access the corridor, and get down the stairs to begin a loop. Finally, you will reach a small hole.
- In Chapter 4, first, you should find the glowing-blue door and access the sketchbook sheet inside it. Similar to the previous chapters, interact with the storyboard on the wall and go back to the corridors to fill the wall with more pictures.
- Go through the door in the corridor and collect the note on the counter. Get into the room’s bathroom and move back. Access the stairs to reach a new room with sketches. Collect the drawings of the monkeys and find the golden piece in the nearby door.
- Collect a flash card from the room with a desk, an image from the balcony, and access the barricaded door in the corridor. Use the golden piece to open the door and move forward to reach another door. Grab the knocker to open.
- Instead of going down the stairs, head back to the split corridor and go right to the space with multiple doors with marks for knockers. If you reach the correct door to open, a distorted noise of the phone ringing will start. Open the door using the knocker.
- Answer the phone and move towards the blue light. Reach the gate with the inscription “House of Lost Dreams.” Collect the silver piece and travel back. You will see a ghost coming towards you.
- After a fade, you will be in the desert cave. Navigate towards the glowing figure to fade again. Back in the home, place the collected pictures on the wall. One board will fall, revealing 42 tally marks.
- Use the silver piece and open the barred gate after collecting the sketchbook inside the chest. Go through a cracked space with bricks to witness a strange pixel. Move towards it to reach a storage locker.
- Move the storage locker and open the door. Get down through the ladder and collect Joe’s Dull Heart. Move back and go through the blue flashing entrance. Collect the sketchbook page and interact with the picture on the wall.
- To open the locked chest, input 3715. The number is revealed by counting the total painted roof tiles (3), clay pieces (7), wooden cross (1), and the lizard figurines (5).
- You will find Eva’s photograph inside the tiny door. Collect the VHS tape and navigate to the room with the TV. Watch the tape and identify the symbols similar to spiral, chalice, and triforce.
- Access the door down the stairs and place the spiral on top, the chalice in the middle, and the triforce at the bottom to open it. Collect glasses from the ghost and find a box wrapped in blue gift paper.
- Travel until you reach the “Exit” sign. Go to the “House of Lost Dreams” pathway and put four items under the four paintings. Under El Amanecer (the dawn), place Eva’s shattered photograph. Under El Mediodia, place Isaac’s deflated ball. Under La tarde, place the broken glasses. Under La noche (the night), place Joel’s dull heart.
- You will reach a surreal atmosphere. Various inner and outer voices will appear, and finally, you will reach the glowing figure. Pass through it to reach the bathroom again! Move out and enter the dark passageway near the corridor.
Chapter 5: Playing With the Truth
Real action begins with this chapter, when ghosts start chasing Sam down the corridor. Additionally, there is a complicated puzzle to solve. Let’s get into a full walkthrough and guide.
Playing With the Truth
- Access the dark passageway and reach the bottom space. Pick the sketchbook page, the flash cards, and the staff key. After unlocking and going through various doors and stairs, you will reach a set of ghosts.
- You need to spell the word “ROMPER” by finding all the letters. Ghosts will try to make you panic, but keep finding the words. A normal player can find all letters except R, which is at the fork.
- After spelling the word, your surreal experience will shut down, and you will return to the normal world, inside the room. Leave the room and go down the stairs.
- You will see a pass-through with the name “chase sequence.” Travel through it to reach “load level.” Pass through the laid level to complete the fifth chapter.
Chapter 22: A Mouth Full of Sand Can’t Scream
Chapter 22, the concluding chapter, features a puzzle in which you have to cross to the opposite side of a room with the toy ambulances. All other processes are pretty easy. Let’s get into a detailed guide.
A Mouth Full of Sand Can’t Scream
- Interact with the radios, collect the coin, and pick up the sketchbook pages. Interact with the ghost that appears for a cutscene to begin. After that, find another radio and change its frequency to below 53 AM.
- Classical music will begin and a ghost will appear. When it approaches you, a “load level” glitch will appear. Go through it to find a “Forwards” and “Backwards” glitch and void. Don’t fall into the void.
- Walk through the glitch marker to control the toy ambulances. If you walk through the backwards glitch market, the ambulances will travel backwards. Identify the ambulance that moves all the way through the room.
- The particular ambulance will move towards the void when you walk through the backwards glitch. Follow it when it starts moving to reach the forward glitch. Now, side-step and walk through the left.
- Get into the toy ambulance and wait for it to reach the other side. After reaching the other side, answer the ringing phone and walk to the corridor. Go through the “Play Music” glitch and climb up the ladder to reach a barricaded place.
- Tap continue and move forward. Collect coins without touching the spiders. Finally, go through the door with the tag “Trigger Title.” This will end the chapter and proceed to the conclusion “Chapter 3: One More Time (again).”
- The last section ends with Sam reaching a beach and finding a ghost near him. Interacting with it will transfer Sam back into the bathroom. You can take the keys from the table downstairs and step outside.
System Requirements for Luto the Game
A 64-bit Windows PC is a must to play Luto. More requirements are provided in the table below.
| Category | Minimum | Recommended |
| Operating system (OS) | Windows 10, 11 | Windows 10, 11 |
| Processor (CPU) | Intel Core i5 4690 AMD Ryzen 3 1200 | Intel Core i7 8700K AMD Ryzen 5 3600 |
| System memory (RAM) | 8 GB | 16 GB or more |
| Storage drive (HDD/SSD) | 22 GB | 22 GB or more |
| Video card (GPU) | Nvidia GeForce GTX 1060, AMD Radeon RX 580, 6 GB of VRAM, DirectX 12 compatible | Nvidia GeForce GTX 3060, AMD Radeon RX 6600 XT |
Next Up: Mario Kart World Rainbow Road: Unlocking & Winning Full Walkthrough
Concluding Thoughts
If played well, with the assistance of the guide provided above, Luto can be completed within three hours. However, it is suggested that the player delve into the game without knowing anything, fail, try again, and complete the game with their own effort, to experience the game in full, making it a cathartic and self-healing spiritual experience.
Related Articles


